Basic equipment and tools
It is unlikely that someone starting this activity will have large rooms available to dedicate to this purpose. On the contrary, many people put together their “den” in small premises. The set-up therefore depends very much on the space available.
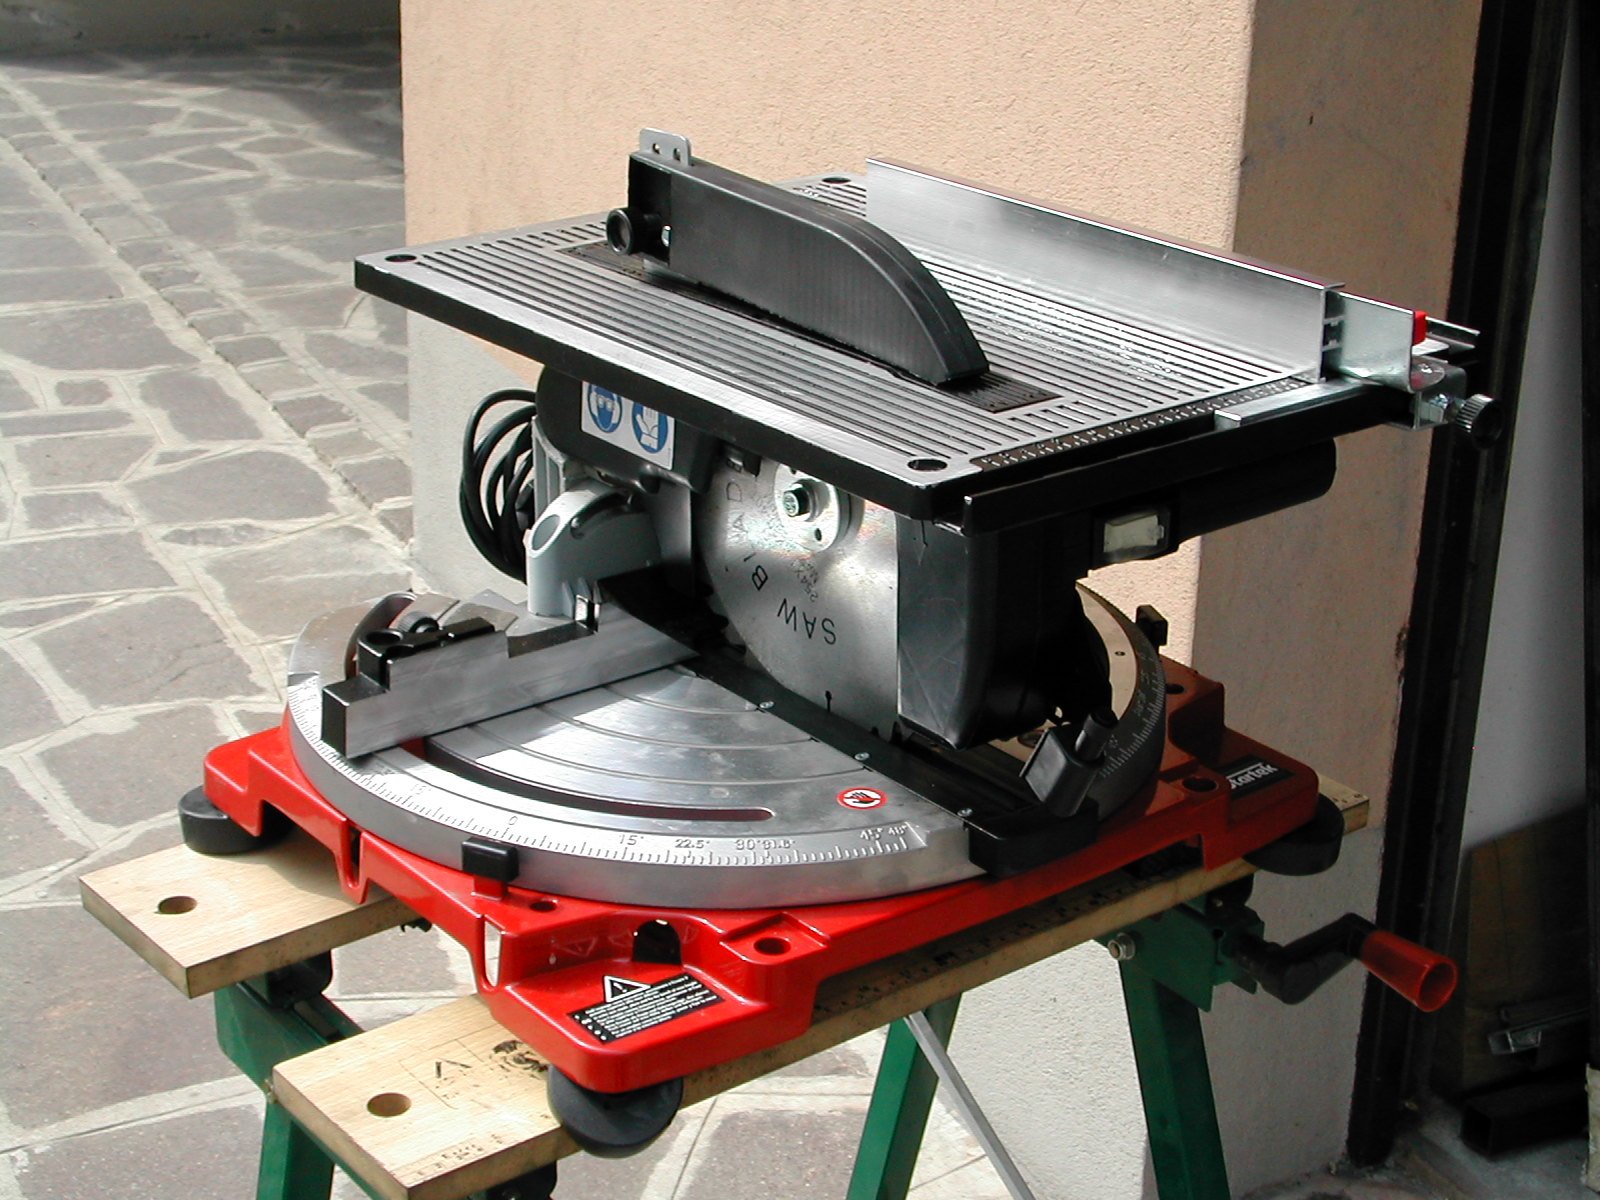
With four, five square meters, only manual and electric tools will be used. With ten to twelve square meters in addition to tools, it is possible to buy a miter saw and a small combination machine with portable saw-planer, which are quite affordable these days. With more than twenty square meters the set-up could be a bit more professional (and therefore more extensive), perhaps including a small band saw.
However, space is not the only factor in determining the set-up, there is another factor, perhaps even more important to consider, i.e. the available budget.
To set-up a small workshop with a minimum of equipment, large investments are not needed.
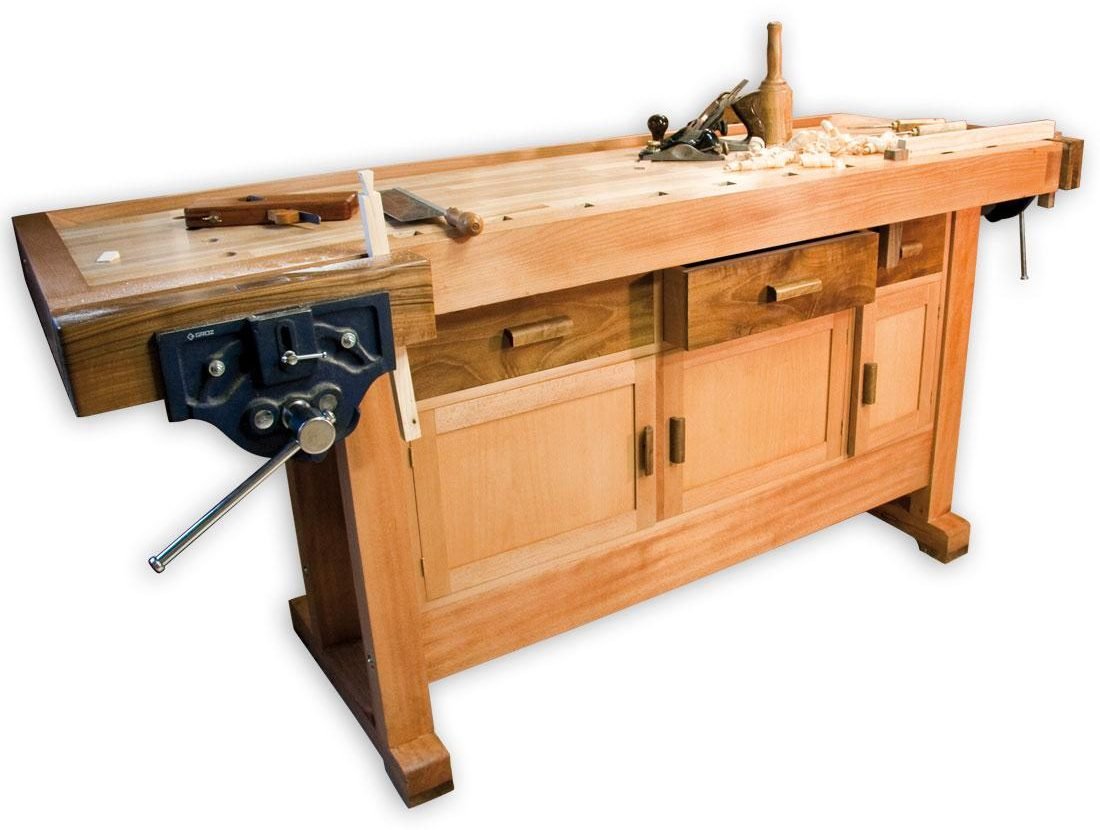
First, the workbench must be built. It must be sturdy and heavy, so as not to vibrate under the shocks while it is being used. Four legs supporting a big work surface should form it. It must be fitted with two clamps, the left, called “front” and the right called “end “, which is essentially a parallel vise.
The work surface must have holes of equidistant to fix the arrest springs also called “dogs” or “crab” that are used to fasten the work pieces to the bench by means of the end vise. It is generally made of a hard, dense wood, such as oak, hornbeam or oak.
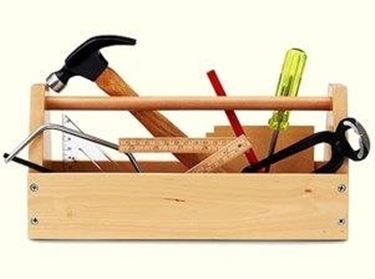
A list follows of hand tools useful for getting started:
[bullet_list icon=”play” indent=”10px” style=””]
- 2 hammers one of 100 grams and one of 300 grams
- 3 chisels 8, 10, and 12
- 1 rubber mallet
- 1 flat file
- 3 rasps of various shapes
- 1 planer small or medium
- 1 average 40 cm ripsaw or more
- 1 back saw average 30 cm or more
- 3 slotted screwdrivers and 3 cross screwdrivers
- 4 small clamps and 4 medium ones
- 1 pair of pliers
- 1 pair of carpenter’s pincers
- 1 frame cutter
- Various wood drill bits
- 1 electric drill 500-600 watts
- 1 carpenter’s tape measure or flexible tape measure
- 1 hard lead pencil
- 2 flexible spatulas for grouting
- 2 spatulas rigid for removing paint
- 1 square of 30-40 cm
- 1 brush from 5-6 cm. and 1 to 3 cm
- Various brushes
- 2 saw horses
- 1 wooden work surface for sawhorses
- 1 cutter
[/bullet_list]
With this set-up doing small renovation and modernisation of various artifacts such as tables, benches, dressers, tables, chests, etc. can be carried out. Repairs to small missing or broken parts, are also possible bearing in mind that for large or particularly complex pieces to be cut out it advisable to call a carpenter.
If finances allow for a higher budget then it is useful to equip the workshop with some electrical tools, which as well as facilitating and speeding up work will make it possible to work on small and medium-sized joinery and cabinet making greatly expanding the horizon.
To the equipment listed above, the following should be added:
[bullet_list icon=”play” indent=”10px” style=””]
- Hand circular saw of 1200 watts minimum with a blade 16-18 cm in diameter
- 700-800 watt jigsaw with pendulum motion
- 250-300 watt orbital sander with wide buffer pad (mm.230×115)
- Electric planer of 700 watts or more
- Wood cutter of 1200-1400 watts or more
- Vacuum cleaner 1200-1300 watts with washable filter
- Cordless screwdriver 12 or 14 volts
- Hot air gun for paint stripping enamelled or painted furniture
[/bullet_list]
Helpful, but not essential:
[bullet_list icon=”play” indent=”10px” style=””]
- Small 150-200 Watt electric grinding wheel for sharpening
[/bullet_list]
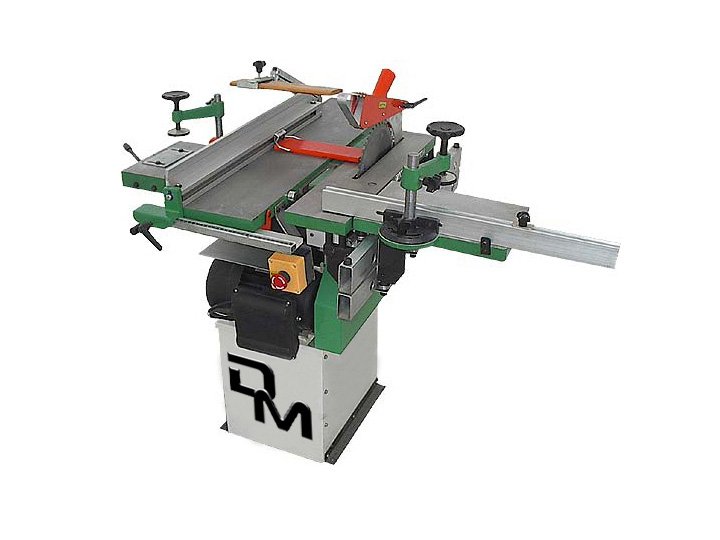
If desired and if space is available, then a combination machine with a miter saw and a small band saw will set up the workshop almost completely especially if oriented toward cabinet making or woodworking, as well as toward restoration.
Combination machines are common however, and all have at least five functions: saw, planer, thickness planer (usually 26 cm.), wood shaper (woodcutter), mortiser, and these functions all greatly facilitate work.
A professional combination machine, for example, is characterized in general by a greater width of the planer, (minimum 30 cm.), worktops which are longer and wider, higher engine power and a much higher price.
The miter saw must be of good quality, for this machine it is necessary to spend a little more to obtain high-quality results of precision, particularly for miter cuts.
Finally, there is the band saw, recommended about 700 W, and with a 12 mm blade. It should cut pieces about 15 cm high. However, in practice, provided it is good, it is also possible to cut well with a 9-10 cm blade, depending on the hardness of the wood, but to begin with, it may be sufficient. The choice should be made according to requirements. It is a given that to begin work there is no need to buy all this equipment at the same time, it would be a considerable expense. Initially money should be invested in manual tools and instruments and only a few of the power tools (drill, circular handsaw, alternative hacksaw), to then expand the equipment of your workshop as needed. Without haste generally it takes some years to develop a very well equipped workshop.